|
|
| HOMEPAGE | VEHICLE HISTORY | TECH SPECS | FOR SALE & WANTED | MY VAN | TECHNICAL GUIDES |
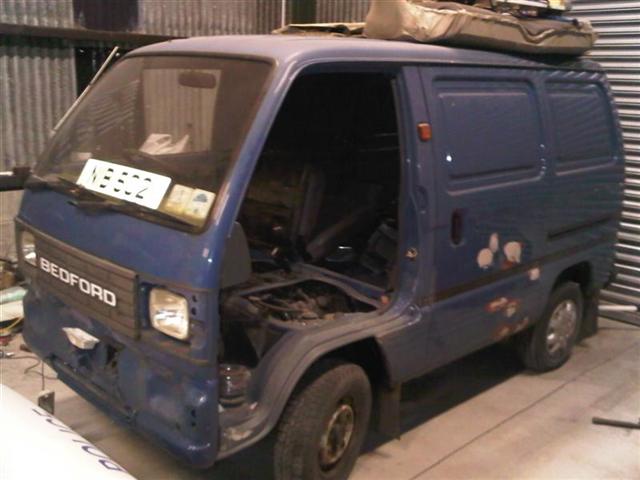
My Vans Progress with little Ernie I'm always on the lookout for more Bedford Rascal vans in particular - see here. |
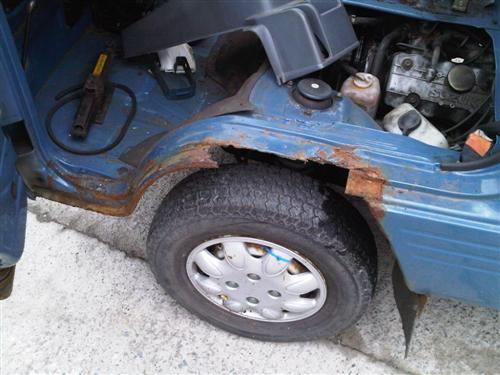
I started on the 20th of October to repair the front passenger wheelarch. As you can tell I don't get much time to work on my little vans! The front arch started off looking like this:
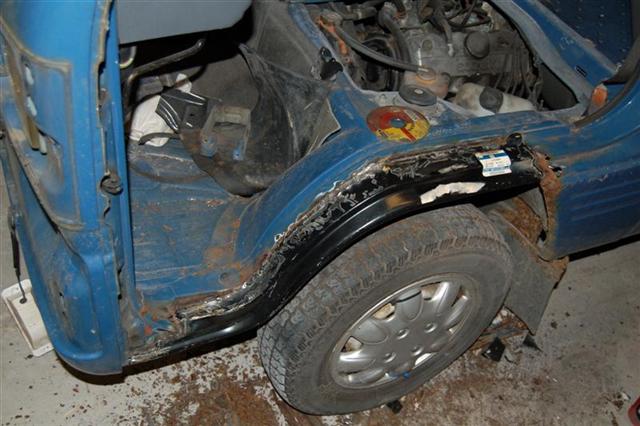
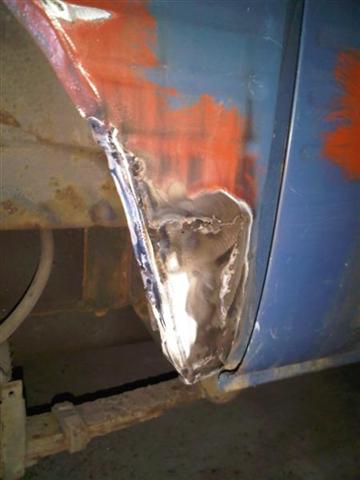
I chipped off most of the visible rust with a hammer and attacked the wheel arch with a grinder to remove the rest of the material. I then spot welded in the new wheelarch panel.
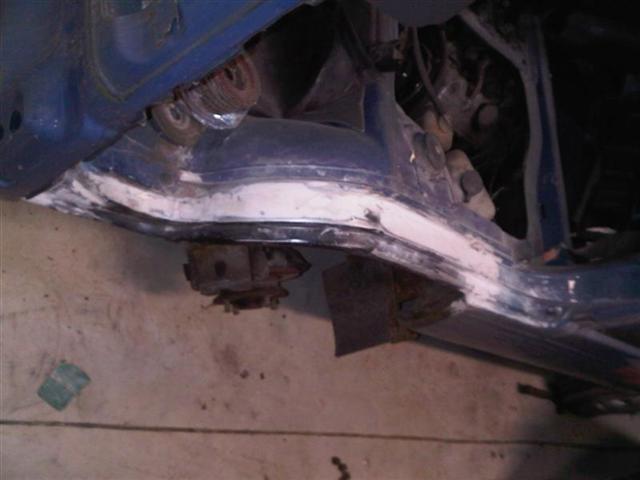
After that I ground all the welds down and tidied up the rest of the arch removing any other rust areas as I went.
And this is as far I have gone to date;
I will be painting the wheelarch when I paint the rest of the van. I haven't decided whether to respray the whole van or just paint the parts that I have been working on.
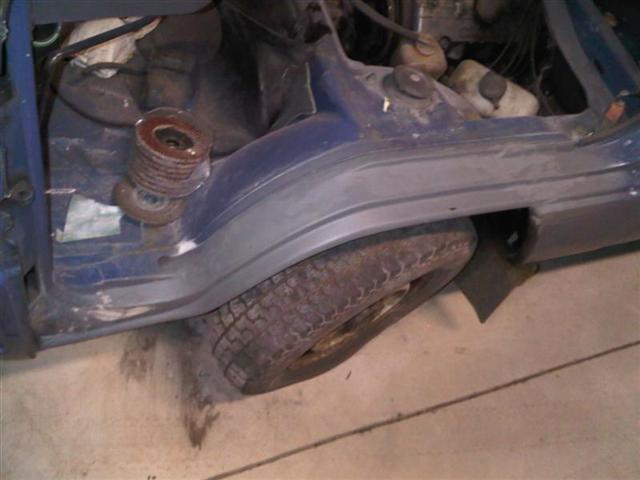
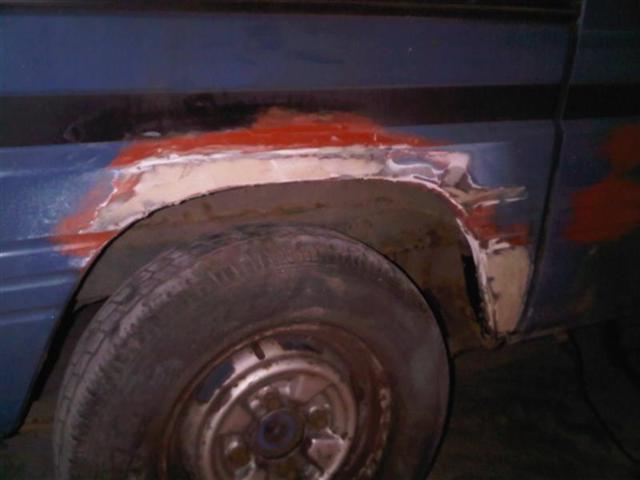
I also finished off the driver's side rear wheel arch while I was working on the van. This was a particularly difficult area to repair in the front lower corner. There wasn't much of the original panel left to work with and it took me about 5 hours of work to rebuild it with fresh metal etc. It doesn't look like much work but believe me it was!!
And this is the complete arch with both repairs skimmed over in a very thin layer of isopon in preparation for paint.
|