|
|
| HOMEPAGE | VEHICLE HISTORY | TECH SPECS | FOR SALE & WANTED | MY VAN | TECHNICAL GUIDES |
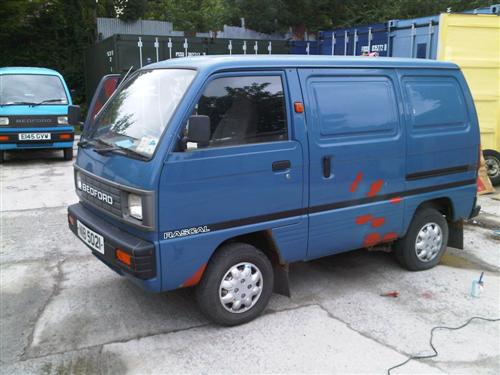
My Vans Progress with little Ernie I'm always on the lookout for more Bedford Rascal vans in particular - see here. |
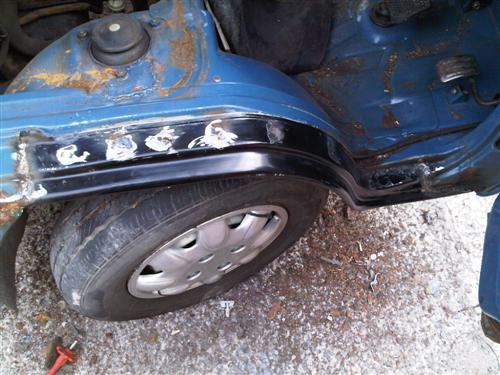
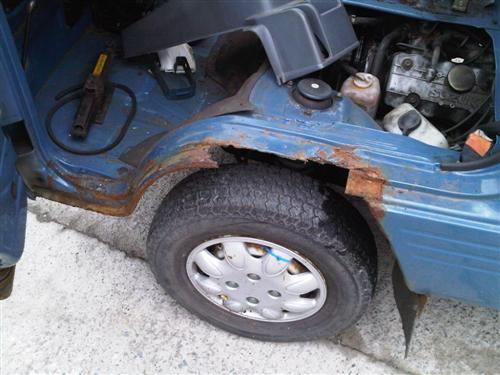
I started on the 17th of July 2010 to repair the front driver's wheel arch on little Ernie (yes it has only taken me 7 months to get round to doing any work on the little van!!). Front wheel arch before (this was the van's original wheel arch!!):
New arch welded in place:
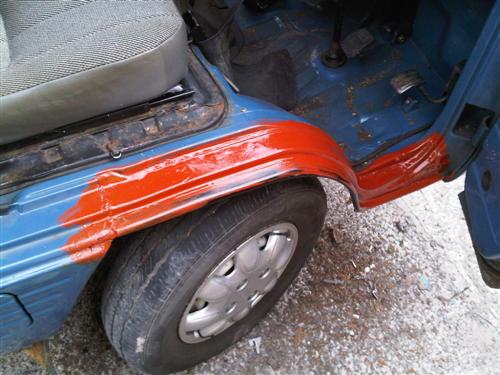
New arch primed in rust proof primer ready for final finishing:
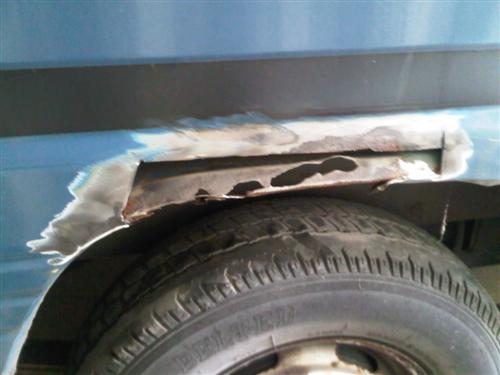
I probably could have got away with just patching up the wheel arch but since this little van is in such good condition elsewhere I thought it would be best to just replace the entire arch. Believe it or not this van is actually in better structural condition than Bert!! It only took me an hour and 15 minutes to replace that wheel arch above - it took me a lot longer to do the same job on Bert. Rear wheel arch repair:
Below is the top of the arch after the repair - there's no filler in there yet just a full seam weld around the patch and ground down with the rust preventing primer painted on top. This was quite a difficult repair because the inner rear arch had to be repaired before the outer arch as you can see in the picture above. Turned out well even if I do say so myself. Looks like the arch is going to need further repairs at the bottom though - this was full of filler before I hit it with the grinder.
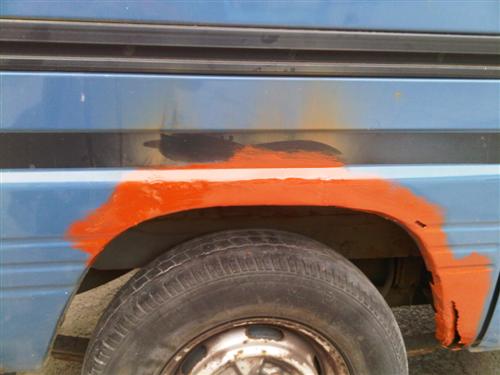
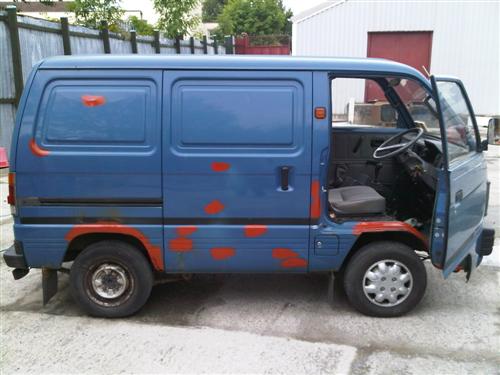
General rust spots taken back to bare metal and primed around the van - as you can see the driver's side needs the most attention. The rear wheel arch on the passenger side shouldn't need any attention at all:
There's a good bit of work to be done on the passenger side wheel arch - not much left of it in places. The supporting structure still seems to be there though so it should be a fairly straightforward repair.
|