|
|
| HOMEPAGE | VEHICLE HISTORY | TECH SPECS | FOR SALE & WANTED | MY VAN | TECHNICAL GUIDES |
My Vans I'm always on the lookout for more Bedford Rascal vans in particular - see here. |
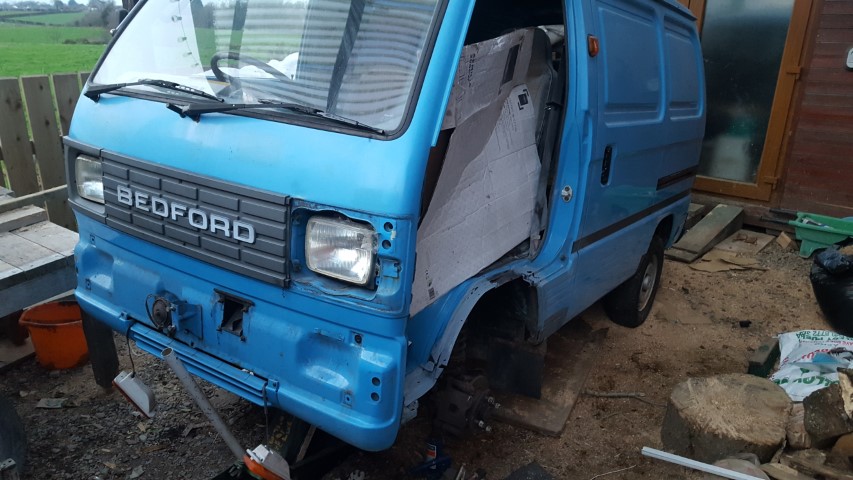
27/12/2018 - Cargo Blue Van (E649FLR) Wheel arch repair
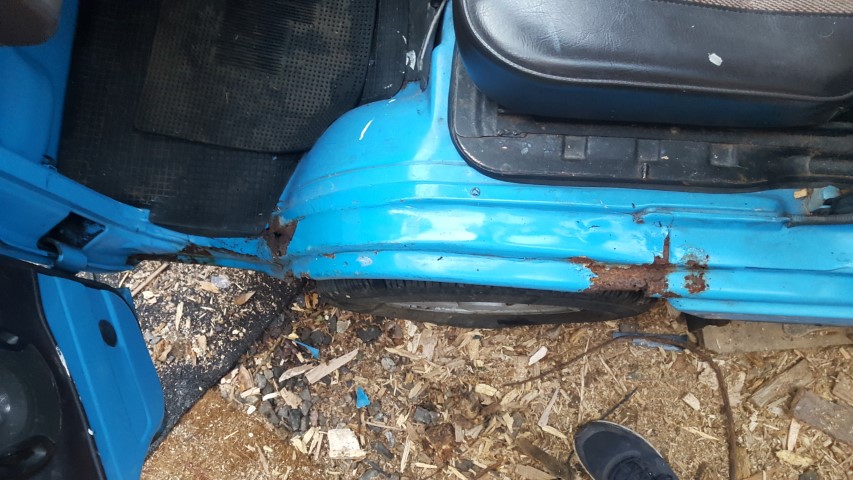
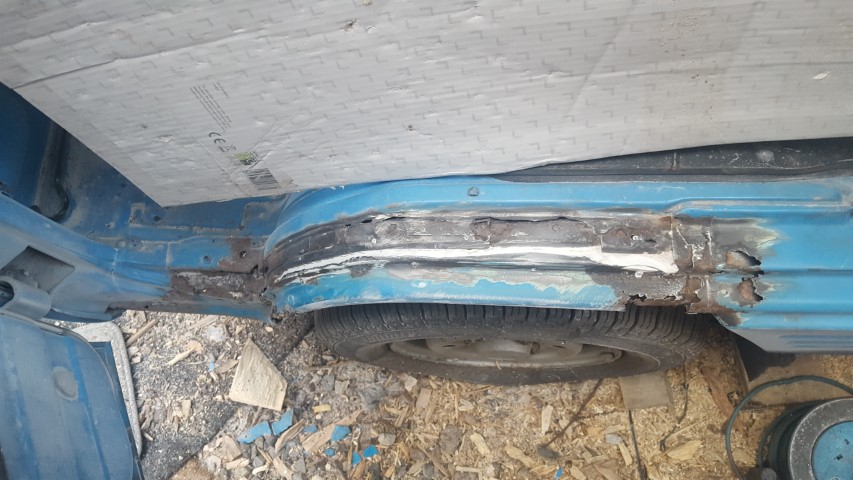
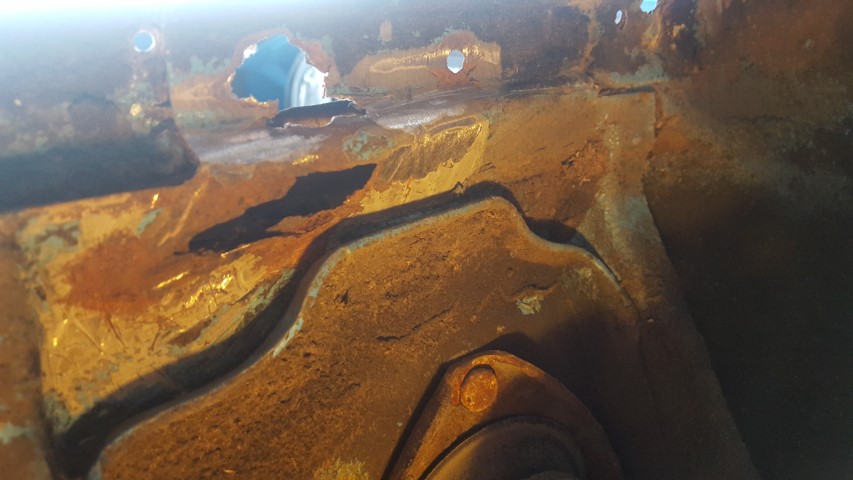
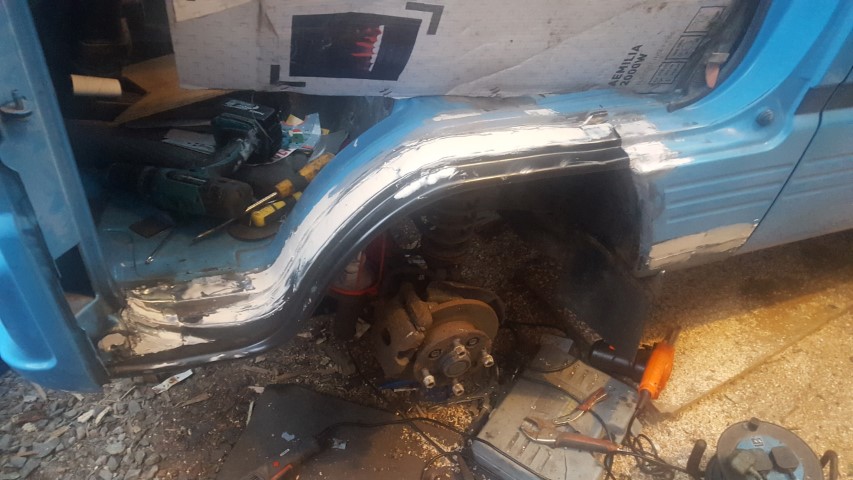
My wife bought me a pair of wheel arches for the van for Christmas and I couldn't wait to get stuck in. Unforunately with Christmas and everything else happening in between I haven't spent much time with the Rascal at all since I got it. It took me over an hour to get it extracted from the shed and brought home for some attention. It refused to start and I had to tow it out of the shed and jump it from another vehicle to get it running which was a task in itself. I later discovered that the air box lid wasn't attached at all so I'm not surprised it had trouble starting. Here's what the wheel arch on the passenger side looks like:
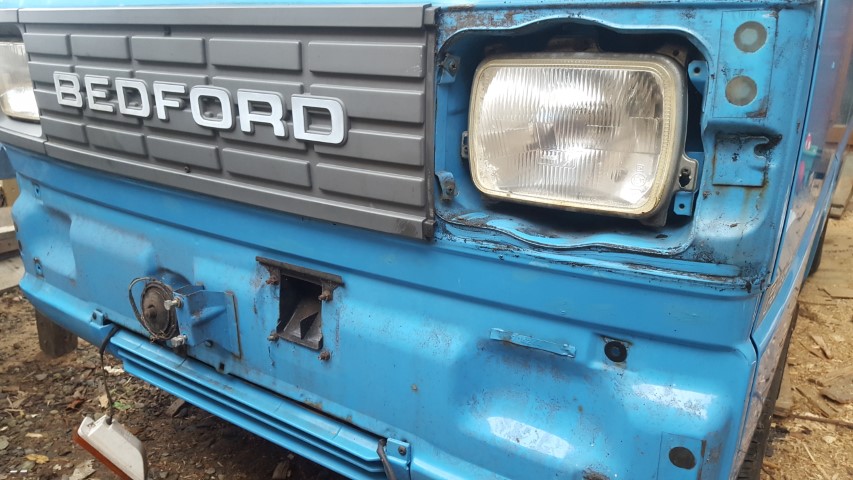
As you can see it badly needs replacing but most of the supporting structure is still there. I thought I'd start at the passenger side because it's a bit easier because the accelerator cable runs in the groove along the wheel arch so it needs removing before you do anything otherwise you might damage it. It looks like the inner wheel arch on this side will need some fettling as well. I removed the bumper and the headlight bezel and discovered that the door has never been off before - it still has its protective tape covering the holes.
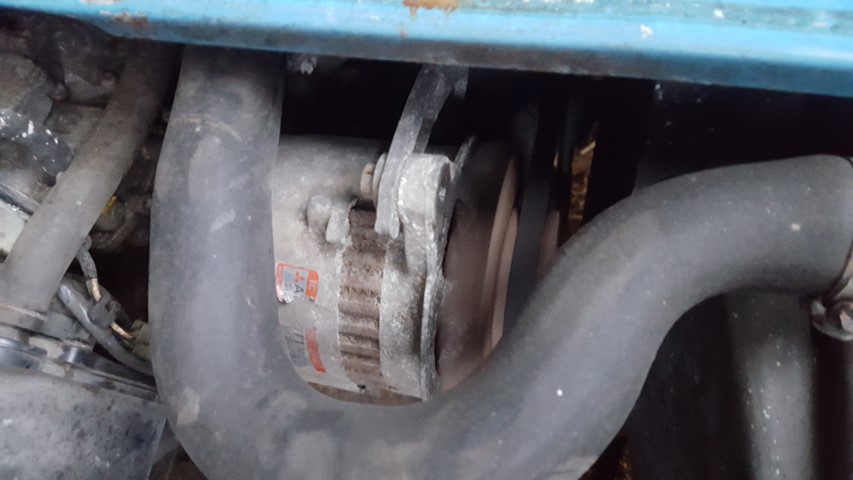
It'll be a shame to remove these pieces of tape but I'll try and carefully take them off. Unfortunately that's all I got done today because my daughter needed a nap so I wasn't allowed to make any noise so with that in mind I got stuck into swapping the alternator from the red van because the one on this van wasn't working. The alternator on the red van looked really bad and I didn't think it would work however it works a treat.
Three 12mm bolts later and it's in place. As you can see from the photo above the [new] alternator doesn't look the best but it does the job. 29-30th December 2018 I got a bit more done on the van over the weekend.
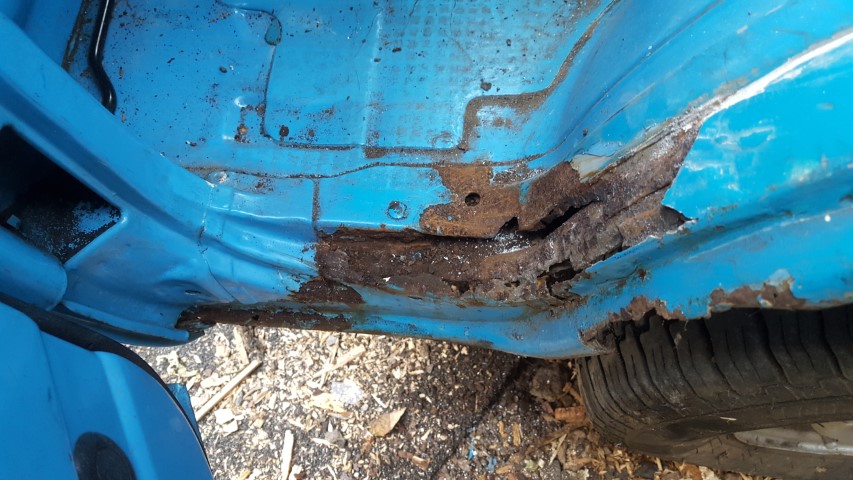
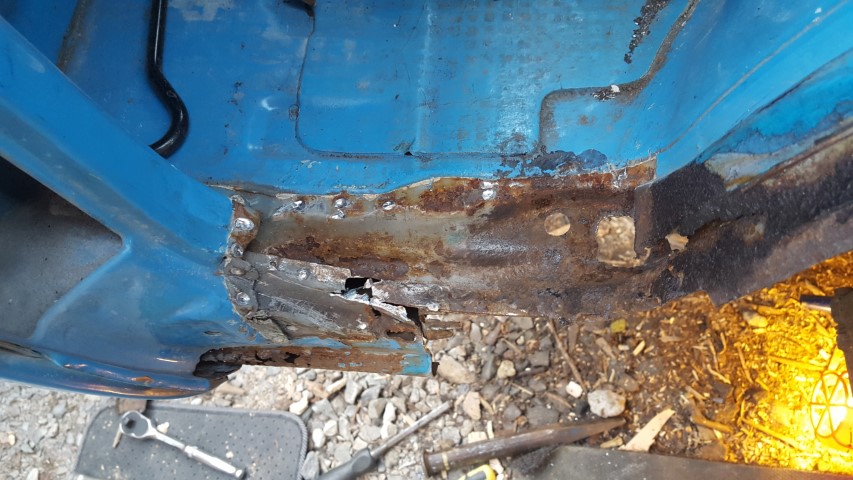
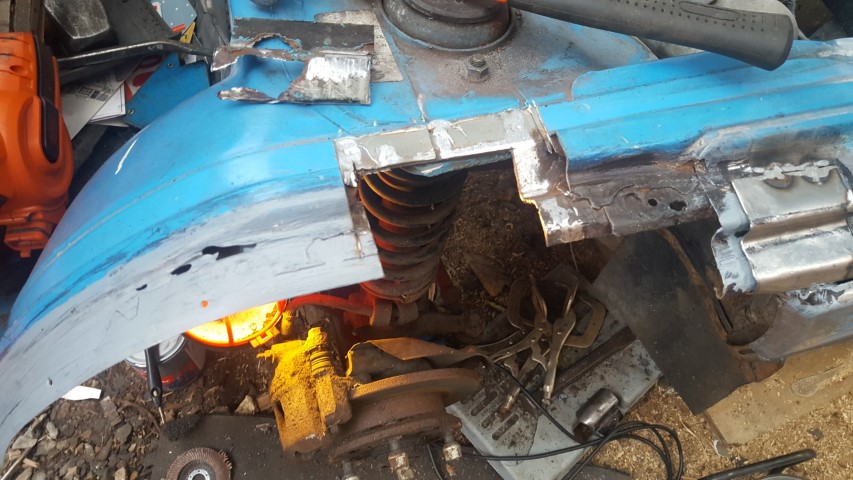
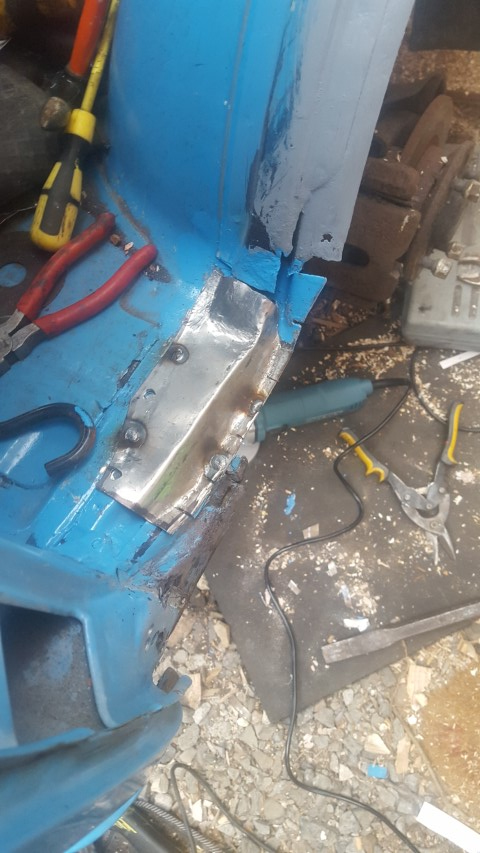
As you can see from the above photo someone has previously "repaired" this wheel arch by riveting a peice of aluminium between the inner and outer wheel arches and then applying copious amounts of filler to try and get the shape back. I had to remove all of this before I could begin.
After removing many layers from the step area that revealed even more hidden rust that needed to be dealt with.
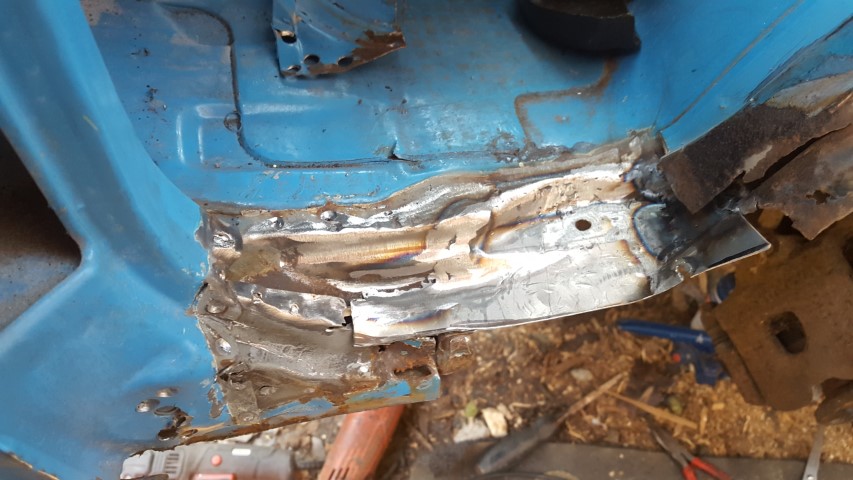
I set a new piece into the step and shaped it as best as I could - it was difficult to do because of the curves and sloping elements. You won't even see this panel in the end though because it's covered over with another panel that is flush with the floor.
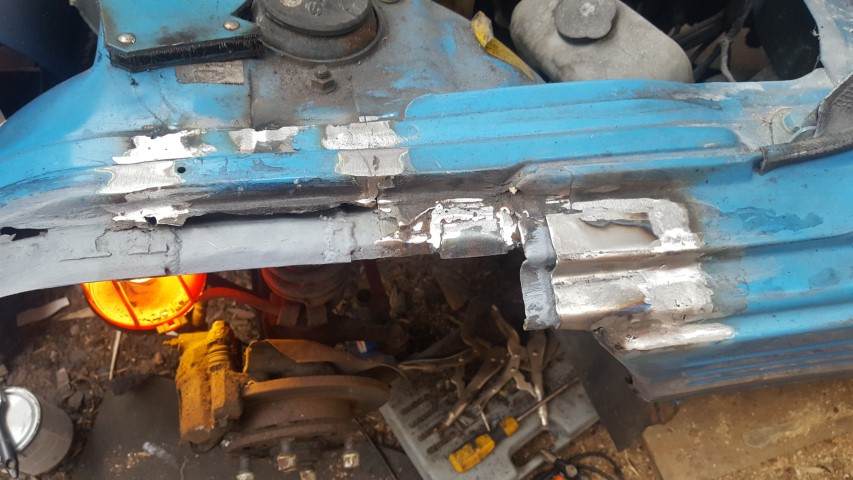
There were some rust hole in this area so I had to make up a repair panel that followed the contour of the body and weld this into the van. Again this took a good bit of time to get correct. While doing the above I found another rust riddled area that needed attention:
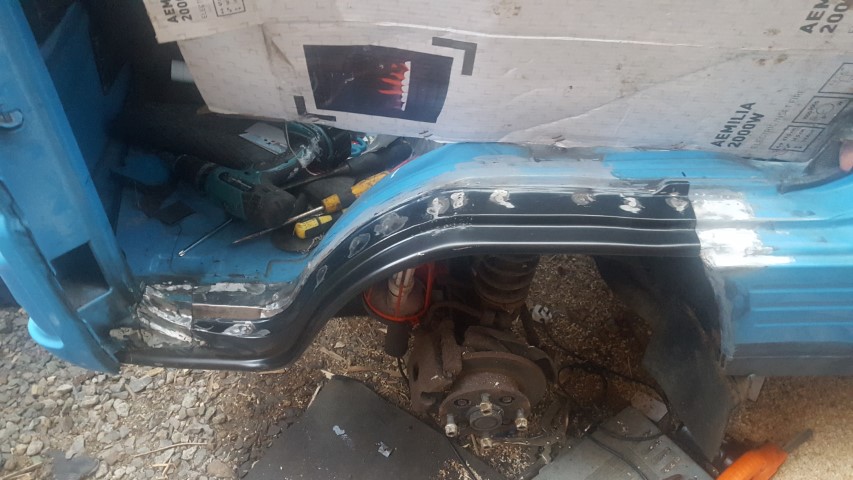
Because this area was so close to the strut tower reinforcement I had no choice but to attack it from above. This meant cutting out the inner wheel arch cover to get access.
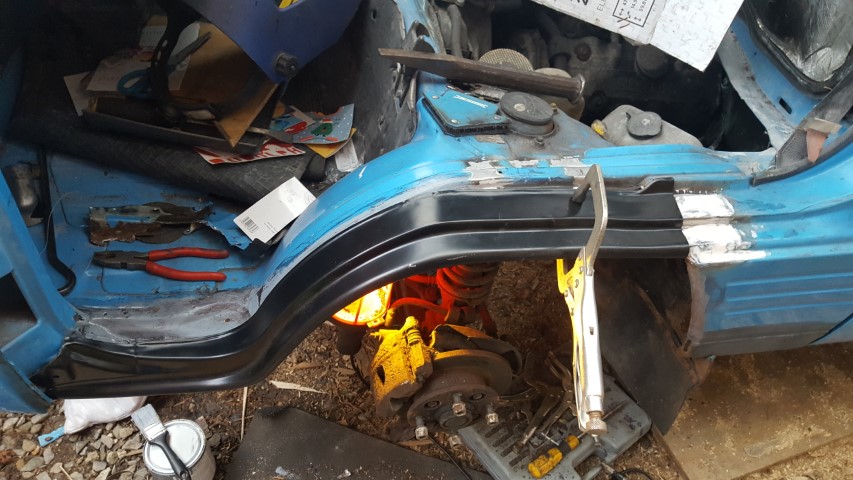
And finally test fitting the new wheel arch panel to make sure that everything still lines up ok
I still have a lot more work to do on this side but I need to get some weld through primer before I can do any more. I started with this side because I thought it would be easier - the moral of the story is that if you're considering tackling this job be prepared to do a lot of remedial work to the surrounding structure in order to get them fitted properly. Of course I could have just left everything the way it was and welded the new arches on...
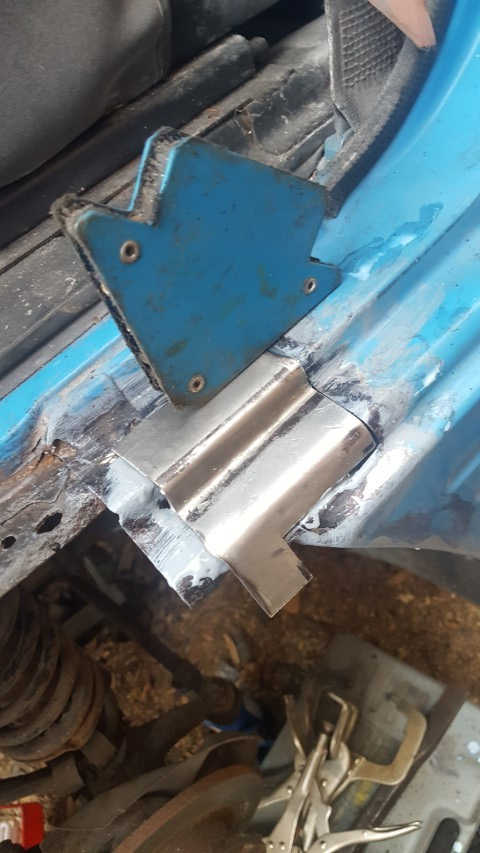
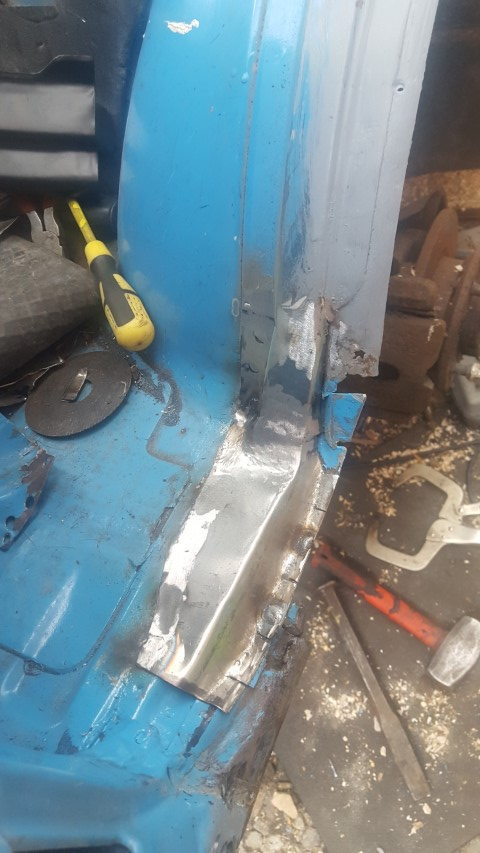
05/01/2019 Got a bit more done to the little van today. I started off making the "upper step panel" that covers the "lower step panel" I made previously. This again, although looks insignificant, took a lot of time to get right. There were lots of trips back and forward to the bench vice to get the shape right. It has to curve upwards to meet the panel that comes down over the wheel arch and needs to have the same profile that disappears into the flat floor.
I also had to make the panel for the bit above it as well because it was rusty. This was a bit easier once I had the lower panel tacked in place as above.
You can see how the complex curve meets up with the upper floor panel and the shape disappears into the floor. Very difficult to acheive. After this I tacked the new outer wheel arch in place and refitted the door to make sure that the door wasn't fouling the wheel arch.
Once I was happy nothing was fouling the wheel arch I continued to weld the new outer wheel arch panel on with plug welds. I also refitted the strengthening piece at the bottom of the A pillar over the top of the new wheel arch (how it would have been originally). I was also able to get the new wheel arch behind the lower A panel before plug welding that back in place too. You can see below how the "upper step panel" comes together with the surrounding panels.
And finally with a skim of isopon over the plug welds to make it look pretty. I also flatted the welds down on a previous repair on the panel behind the wheel and skimmed a layer of isopon over that while I was there.
Next up is sanding, priming, body-shutzing and then final paint.
|