|
|
| HOMEPAGE | VEHICLE HISTORY | TECH SPECS | FOR SALE & WANTED | MY VAN | TECHNICAL GUIDES |
My Vans Progress with little Bert I'm always on the lookout for more Bedford Rascal vans in particular - see here. |
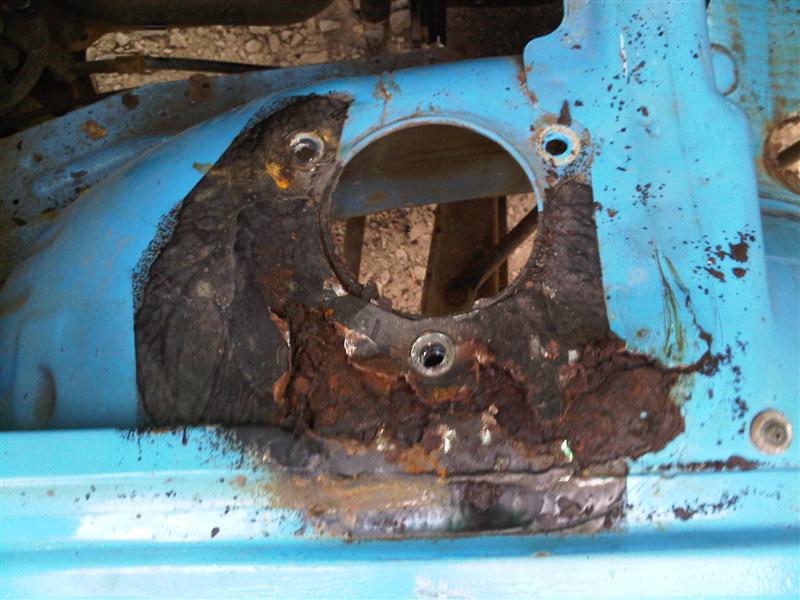
This little van has had crusty shock towers since I bought it back in January. Now that the MOT has run out I brought it out of it's little house today to have a look at getting this issue sorted. I thought it would have been a simple job of plating over the top of the shock towers quickly to get it through the MOT. Here's what the shock towers looked like before:
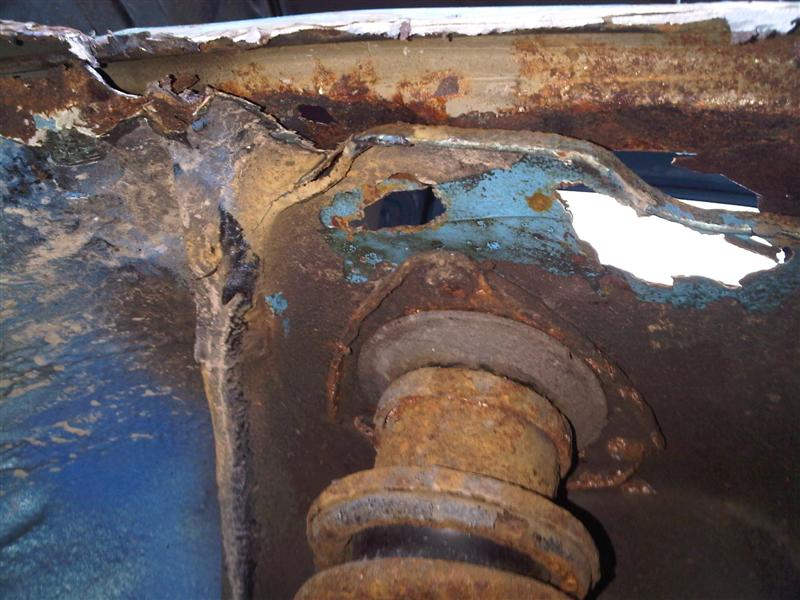
Considering that this area is under tremendous stress from every bump in the road I would not be happy simply plating over the top of the mess and bodging it through MOT. I can't believe I drove this van for 450 miles with the shock towers in that condition. I started by removing the wheel arch (which had been recently fitted "professionally" by the previous owner). The wheel arch was hardly held on at all - just a few spot welds down it's edge and then it was covered in isopon. You can see from the picture below that the rust issue continues right down the edge where the wheel arch joins the van - this will have to be sorted as well.
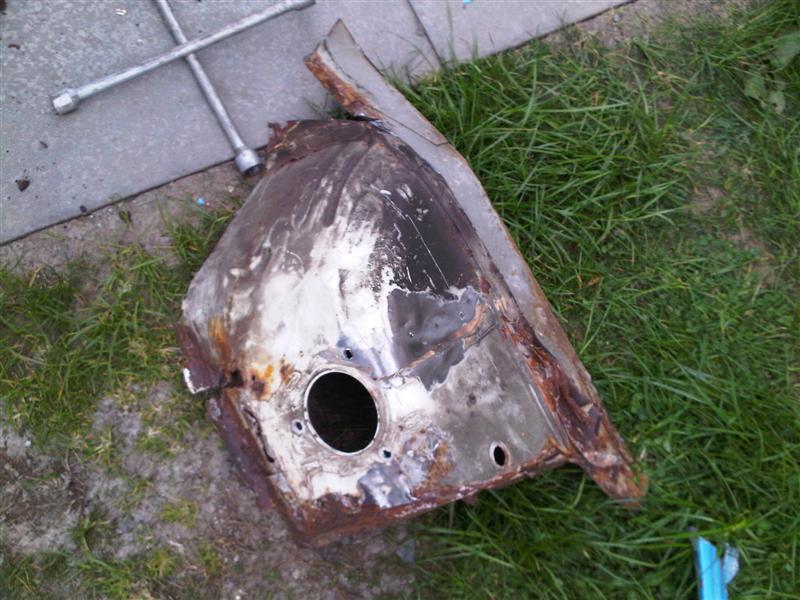
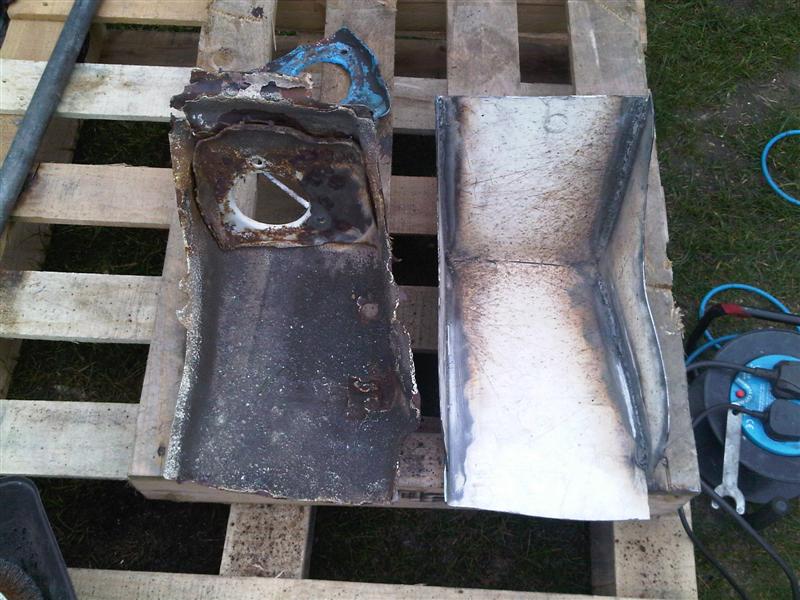
Then, pausing for thought for a while, I tried to figure out the best way to repair this section. I thought about just plating it up again but I couldn't even think of a suitable way to do that. I concluded that the best way to go about it would be to cut the shock tower mount out of the remains of the "SuperZuki" and fit it into the Rascal. I then got stuck into cutting the wheelarch out of the remains of the Supercarry...
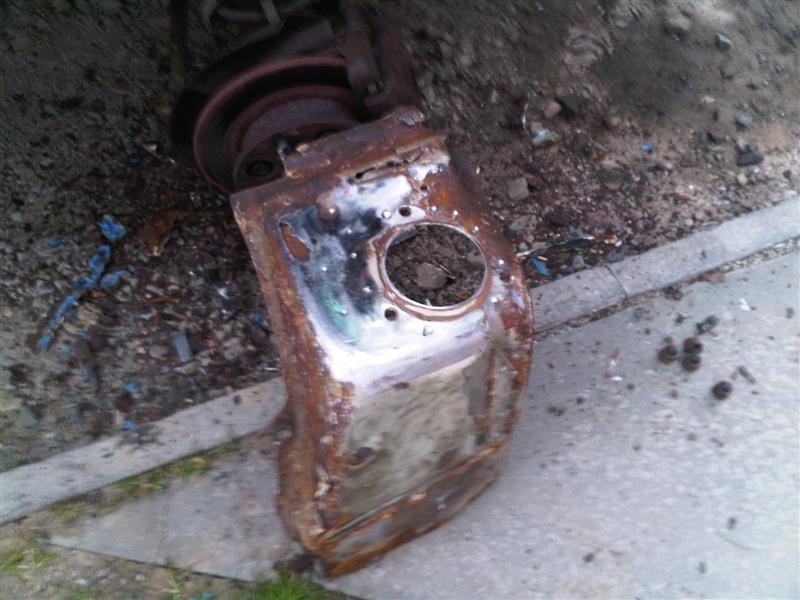
This is quite rust itself but the actual shock tower area is solid enough to be reused with a little bit of reconstruction and welding I think I'll have to get this piece blasted first to assess its true condition:
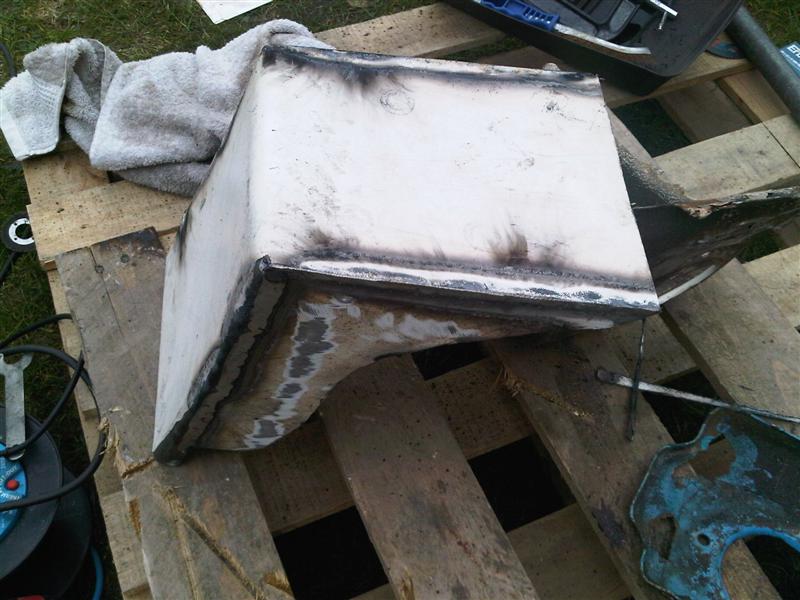
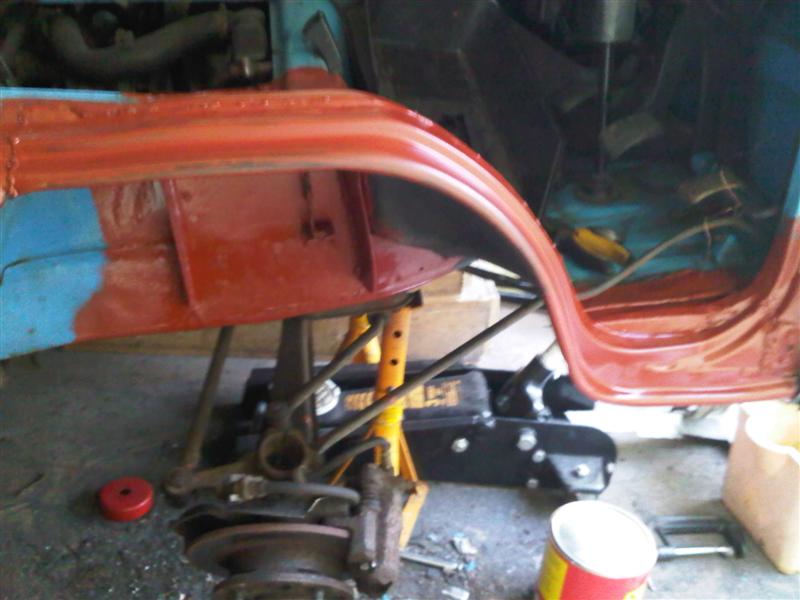
Another option would be to make these shock tower mounts up from scratch but that would be an awful lot of work. I'm still not sure which option I'm going to go down but I'll get the tower above blasted when I pick up the other bits from the blasters and start from there. Update 1st May 2010: I didn't bother getting the shock tower above blasted - decided it would be better to make up my own brand new shock tower out of slightly thicker metal. And the result is this:
The new shock tower is a simplified version of the original following the same dimensions and angles all taken from the donor shock tower pictured above.
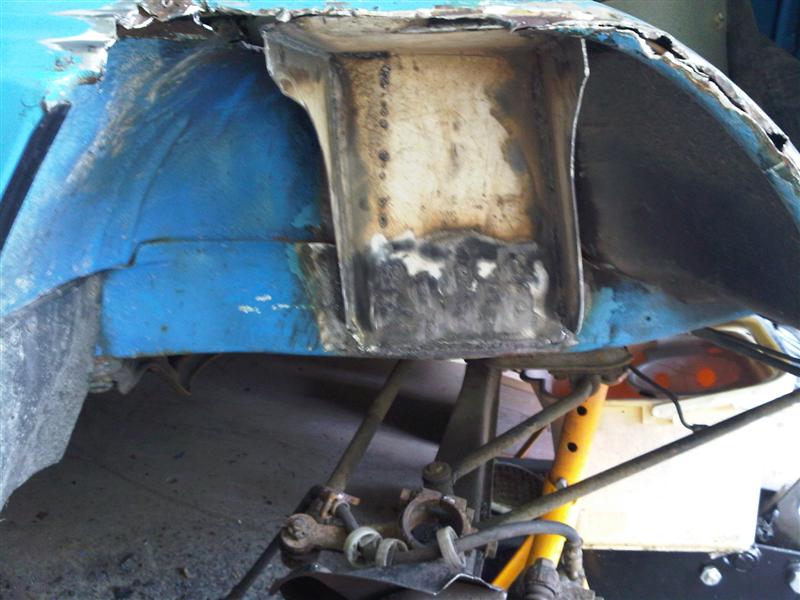
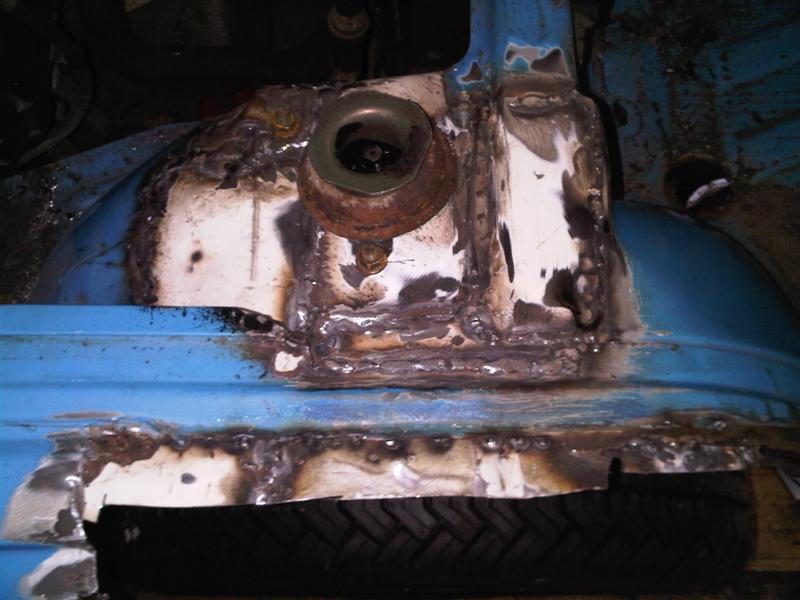
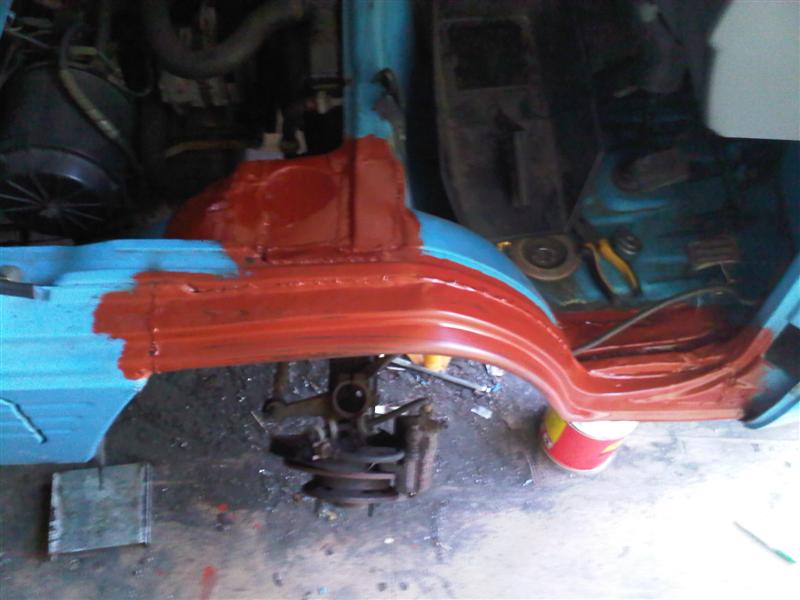
And above is the new shock tower fitted in place. It seems to be very strong and now all of the other metal around it will need to be welded to it to further strengthen it up. I also still have the drill the holes for the top of the shock and for the brake pipe to come through. The brake pipe mounting bracket still needs to be welded onto it as well. Update 22nd May 2010: I've been busy working away in what little spare time I have to get the van finished for the end of June (Vintage rally I really want to attend). I've welded in the shock tower and plated all around the top of it. I bought a very expensive holesaw (£20 odd from B&Q) to cut out the circle for the shock but it just went blunt when I tried to use it. I ended up having to drill about 50 holes in a circle, chisel out the piece and file down the edges. The result isn't a perfect circle but it's close enough.
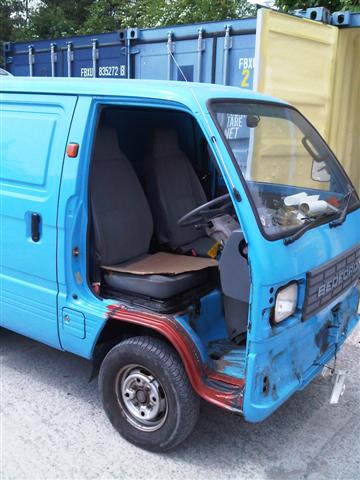
I then ground down all the welds and fitted whe wheel arch repair panel to tidy up the arch. It was quite difficult to get the wheelarch fitted in the correct position. The key was to work in a small area of it at once and just gradually progress along it. I've painted it in a zinc rich primer in the photos below.
And finally I quickly rebuilt the front suspension for it's first trip out of it's container for almost 2 months.
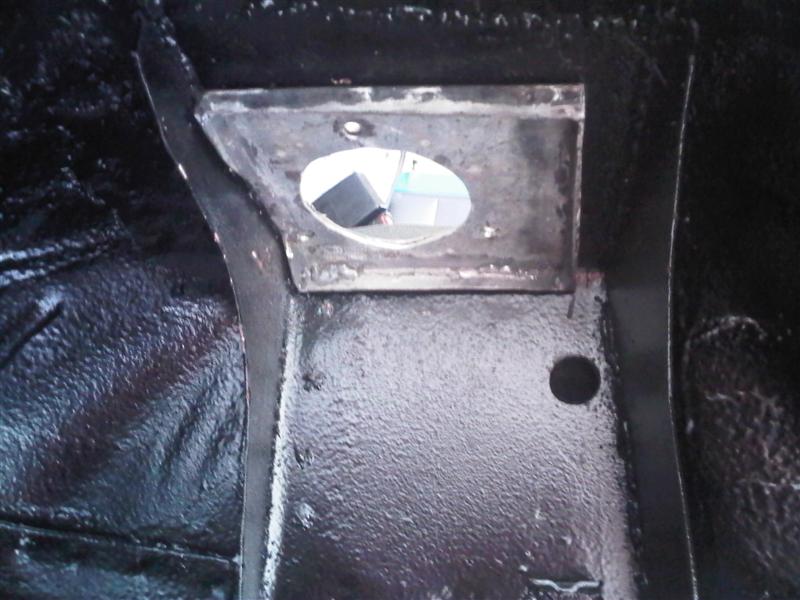
I've still got to isopon the joints and paint the wheelarch but it's nearly there. In the picture above I've sealed all the welds with weld sealer as well just to ensure that the repair is going to last. I also refitted the front door to ensure that everything lined up ok and the door opens and closes just fine. I'm really pleased with the repair even though it's taken nearly 2 months to complete. At least I know now that the wheel arch isn't going to come up through the seat and bite me in the bum whenever I'm driving along!! Update 27th May 2010: Well, it's Thursday and it's Bedford Rascalling time. Thursday seems to be the only evening I get a chance to get working on the little van but anyway... Today I focused on finishing the shock tower repair. The last piece of the puzzle was to replace the reinforcement panel that is welded into the top of the shock tower to spread the stress from the road surface across the panel. I was going to reuse the original panel from the shock tower I cut out of the SuperZuki but it was quite rotten as usual. So again I decided to make up my own simplefied version. Basically it's a flat sheet of 2mm galvinised steel with 10mm strips welded around the edges to strenghten it. Essentially where the shock mounts to the shock tower the metal is now around 4mm thick! Here's the result:
All that remains now is to give it another coat of underseal and then paint it in the original cargo blue. I want to get the van out for it's first vintage rally towards the end of June so I'll have to get it finished ASAP.
|